Step-by-step checklist to set up Meta Pixel in Google Tag Manager: access, GTM install, tags & triggers, event mapping, testing, and optional Conversions API.
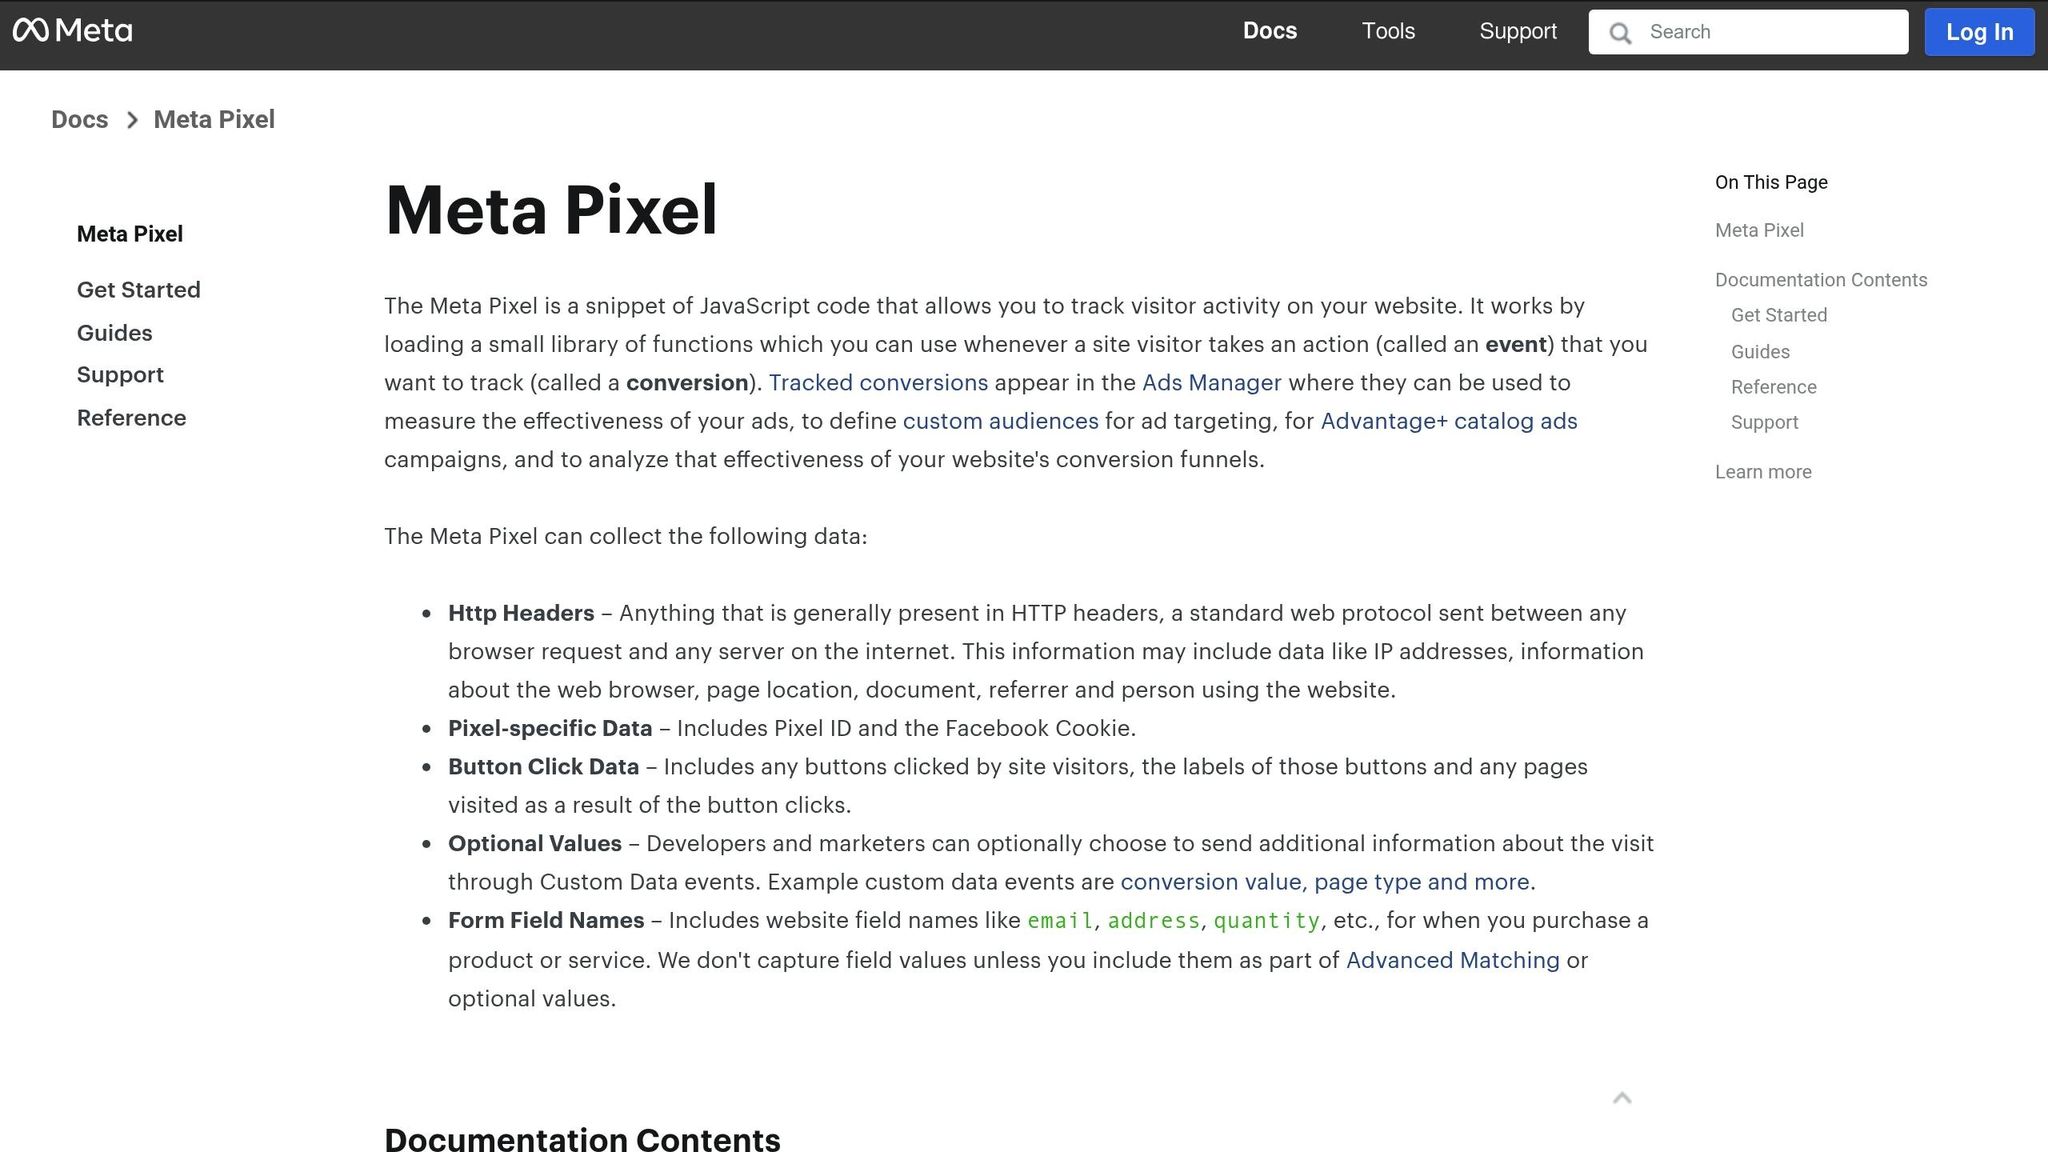
Meta Pixel helps track user actions on your website, like page views, purchases, or form submissions, and sends this data to Meta for ad performance insights. Using Google Tag Manager (GTM) simplifies this setup, but errors like incorrect Pixel IDs or missing triggers can harm tracking accuracy. This checklist ensures a smooth integration process, covering access requirements, GTM setup, event tracking, and testing.
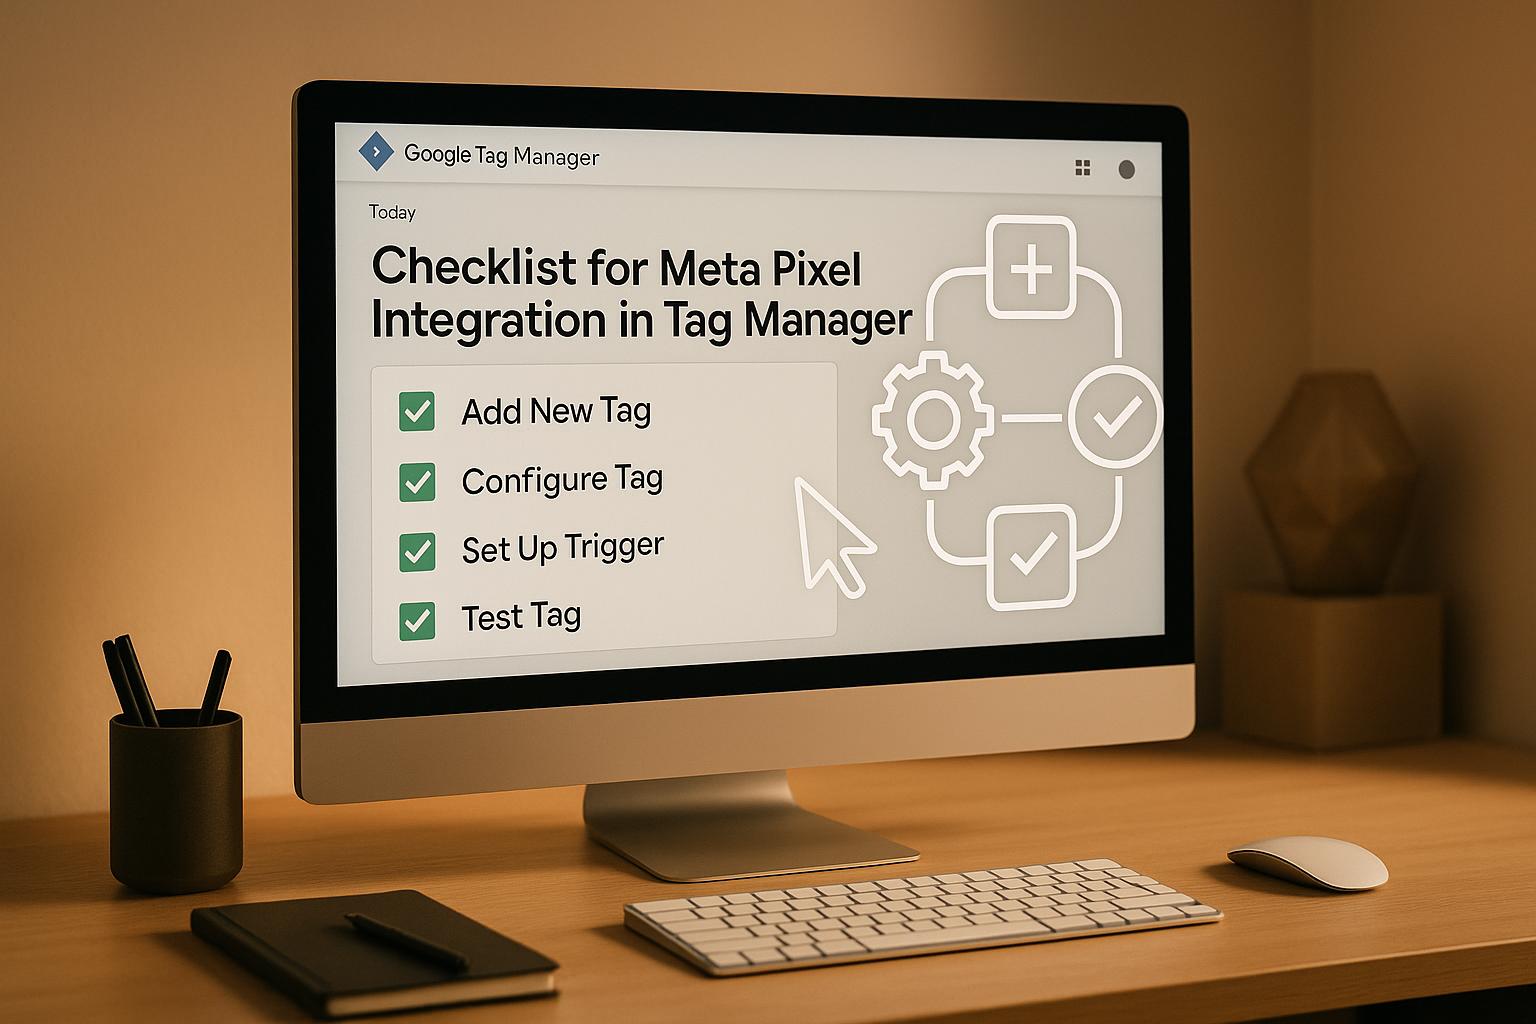
Key Steps:
Pro Tip: For better tracking, consider adding Meta’s Conversions API to complement browser Pixel data, ensuring accurate reporting even with browser restrictions.
This guide provides a structured approach to integrating Meta Pixel into GTM, ensuring reliable data for optimizing ad campaigns.
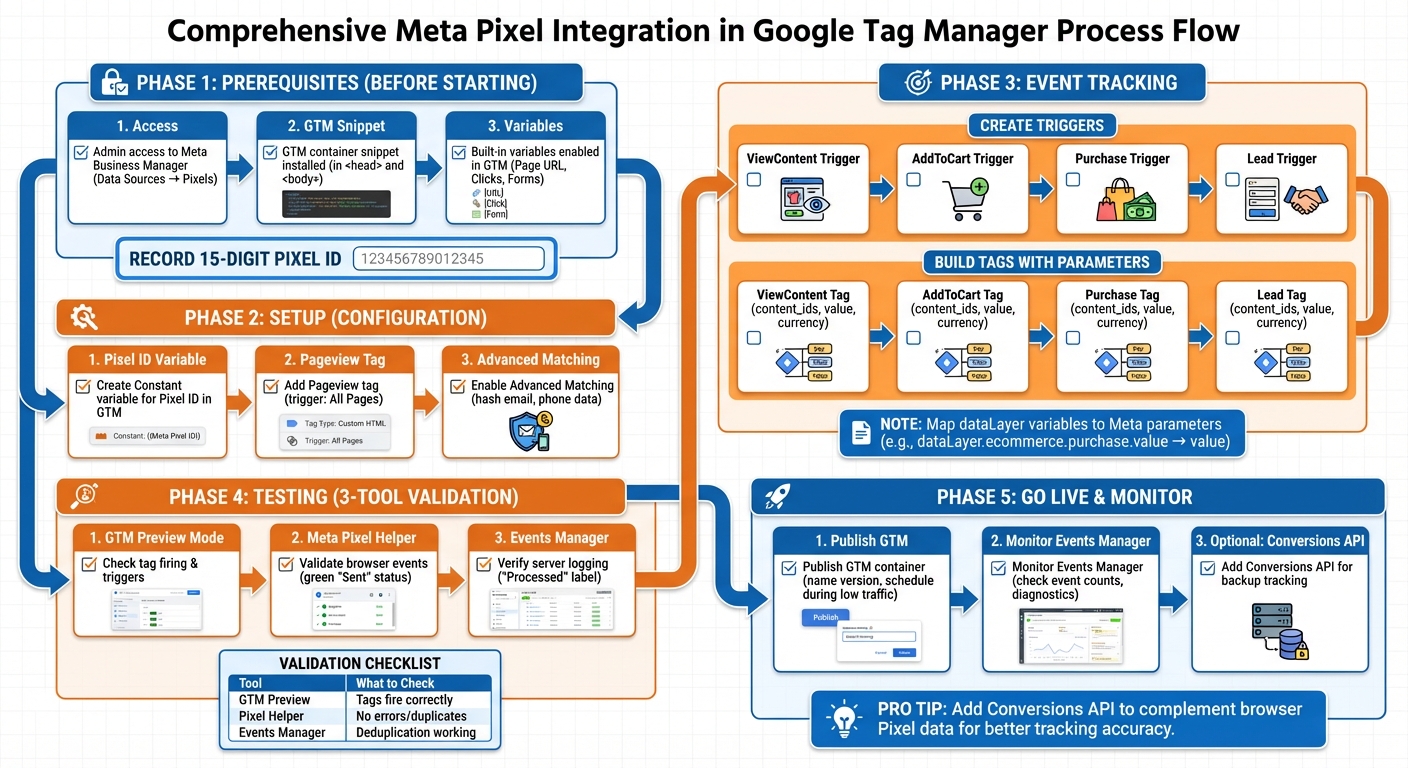
Meta Pixel Integration in GTM: Complete Setup Workflow
Before diving in, make sure you have these three essentials in place: admin access to Meta Business Manager, an active Google Tag Manager (GTM) container snippet, and enabled built-in variables in GTM. Without these, you’ll run into tracking issues.

To work with Meta Pixel, you’ll need admin access to the Business Manager account that owns the Pixel. Specifically, ensure you have permissions under Data Sources → Pixels to create, edit, and share the Pixel [2][3][5].
To verify your access:
From there, click Open in Events Manager and confirm access to the following tabs: Settings, Test Events, and Add Events / Manage Integrations [2][3][5]. If any of these options are missing, reach out to the Business Manager admin to request upgraded permissions before continuing.
Your Pixel ID is a 15-digit number, such as 283859598862258 [1][3][5]. Record this ID exactly as it appears - no spaces or extra characters - in a shared document or tracking plan. Later, you’ll store this ID in GTM as a Constant variable, allowing you to reuse it across multiple tags without needing to hard-code it each time [1][3].
Ensure your website has the GTM container snippet installed in both the <head> and <body> sections of your code. The ID in the snippet should match the one in your GTM account [3][4][5].
To confirm the installation:
Meta Pixel tags rely on variables like Page URL, Page Path, Referrer, and Click fields to create triggers and pass event parameters [3][4][6]. To enable these in GTM:
If you’re planning to track advanced events, such as outbound link clicks or form submissions, also enable the Form and History variables [3][4][6].
Once you’ve completed these steps, you’re ready to set up your Meta Pixel in Google Tag Manager.
Once you’ve confirmed access and enabled the necessary variables, the next step is to configure the Meta Pixel. This involves three key actions: creating a reusable variable for your Pixel ID, setting up a pageview tag to fire on every page, and enabling advanced matching to refine audience targeting. Let’s break it down step by step.
Start by navigating to Variables → New → User-Defined Variable in Google Tag Manager (GTM). Choose Constant as the variable type, then paste your 15-digit Pixel ID (e.g., 123456789012345) from Meta Events Manager. Name the variable something clear, like Meta Pixel ID, and save it. By centralizing your Pixel ID in one place, you make future updates much simpler.
Head over to Tags → New → Tag Configuration and select either the "Facebook Pixel" template (by facebookpixelarchive) or Custom HTML for manual setup.
{{Meta Pixel ID}}, in the Pixel ID field.{{Meta Pixel ID}} in both the fbq('init') and <noscript> sections.Set the trigger to All Pages (Page View) so the Pixel activates on every page load. Name the tag something like Meta Pixel Pageview and save your work.
Advanced Matching helps improve ad targeting by capturing hashed user data, such as email addresses and phone numbers. To enable this:
fbq('init') function like this:fbq('init', '{{Meta Pixel ID}}', {em: '{{DL - email}}', ph: '{{DL - phone}}'});Make sure you reference GTM variables or data layer values for fields like em (email), ph (phone), and others (e.g., first name, last name, city). These values should be hashed using SHA-256. Push this data to the data layer before GTM loads using something like:
dataLayer.push({'em': 'hashed_email'});
This ensures that the Pixel captures the data as soon as it initializes.
Once you've activated the pageview tag, the next step is to track key user actions - like product views, cart additions, and purchases - to refine your campaign performance. These events provide Meta with the data it needs to fine-tune your campaigns and accurately measure ROI. To do this, you'll need to set up triggers that detect these actions, create individual tags for each event, and pass along relevant details such as product IDs and transaction values. This builds on your existing pageview setup, extending your tracking capabilities with actionable data.
If you've already set up the Meta Pixel in Google Tag Manager (GTM), here’s how to configure event tracking. Start by identifying and setting up triggers for key standard events. For ecommerce websites, focus on events like ViewContent (product page views), AddToCart (cart button clicks), InitiateCheckout (when the checkout process starts), and Purchase (thank-you or order confirmation pages). For lead generation sites, you'll want to prioritize events like Lead (form submissions) and CompleteRegistration (sign-up confirmations).
In GTM, navigate to Triggers → New, and select the appropriate trigger type. For events tied to specific pages, like ViewContent or Purchase, use the Page View – DOM Ready trigger with conditions like "URL contains '/product/'" or "URL equals '/thank-you'." For click-based events, such as AddToCart, choose Click – All Elements and set conditions like "Click Classes contains 'add-to-cart'" or "Click ID equals 'buy-now-button'."
| Event | Trigger Type | Example Condition |
|---|---|---|
| ViewContent | Page View – DOM Ready | Page Path contains /product/ |
| AddToCart | Click – All Elements | Click Classes contains add-to-cart |
| Purchase | Page View – DOM Ready | Page Path equals /order-confirmation |
After defining your triggers, you'll need to create individual tags to report these events to Meta. Keeping these tags separate helps with organization and troubleshooting. In GTM, go to Tags → New → Tag Configuration, and choose either the Facebook Pixel template or Custom HTML.
Using the template, select the event name (e.g., AddToCart), input your variable (like {{Meta Pixel ID}}), and map the required parameters. If you opt for Custom HTML, your setup might look like this:
fbq('track', 'AddToCart', {
  content_ids: ['{{Product ID}}'],
  value: {{Product Price}},
  currency: 'USD'
});
You'll need to map your dataLayer variables to Meta's parameters. For an AddToCart event, the required fields typically include:
Define these variables in GTM with clear, descriptive names, such as "DLV - Product ID" or "DLV - Cart Value." Then, assign each tag to the corresponding trigger and use a descriptive naming convention like "Meta – Event – AddToCart – PDP Button."
Custom parameters allow you to pass additional data that can improve audience segmentation and reporting. For example, you might include a user_id for logged-in customers, a product_category for merchandising analysis, or a plan_type for subscription services. To do this, push extra parameters to the dataLayer whenever an event occurs:
dataLayer.push({
  event: 'purchase',
  value: 129.99,
  currency: 'USD',
  user_id: '12345',
  plan_type: 'Annual'
});
Then, create corresponding Data Layer Variables in GTM and include them in your event tag's parameter object:
{
  value: {{DLV - Value}},
  currency: '{{DLV - Currency}}',
  user_id: '{{DLV - User ID}}',
  plan_type: '{{DLV - Plan Type}}'
}
Before publishing your Meta Pixel setup, it’s crucial to confirm that all tags and triggers function as intended. Use these tools in sequence to ensure everything is working smoothly: GTM Preview Mode to check tag firing logic, Meta Pixel Helper to validate browser-side events, and Meta Events Manager to verify server-side logging and deduplication.
Start by clicking the Preview button in GTM, entering your site URL, and connecting. Go through the main user flows - like visiting the homepage, browsing a product page, adding an item to the cart, completing the checkout process, and reaching the thank-you page. As you navigate, check the GTM preview panel to confirm that the correct tags fire at the right steps. For example, the PageView tag should fire on every page, while the AddToCart tag should only trigger when a user clicks the add-to-cart button.
Inspect the payload of each tag to ensure accuracy. Confirm that the Pixel ID variable populates correctly and that event parameters - like value, currency, and content_ids - display the expected data. If Advanced Matching is active, check that the initialization call includes hashed fields such as email and name. If tags fail to fire, review your trigger conditions. Common issues include incorrect CSS selectors for click triggers or mismatched URL patterns for page-view triggers.
Once you’ve validated this in GTM, move on to browser-level checks using the Meta Pixel Helper.
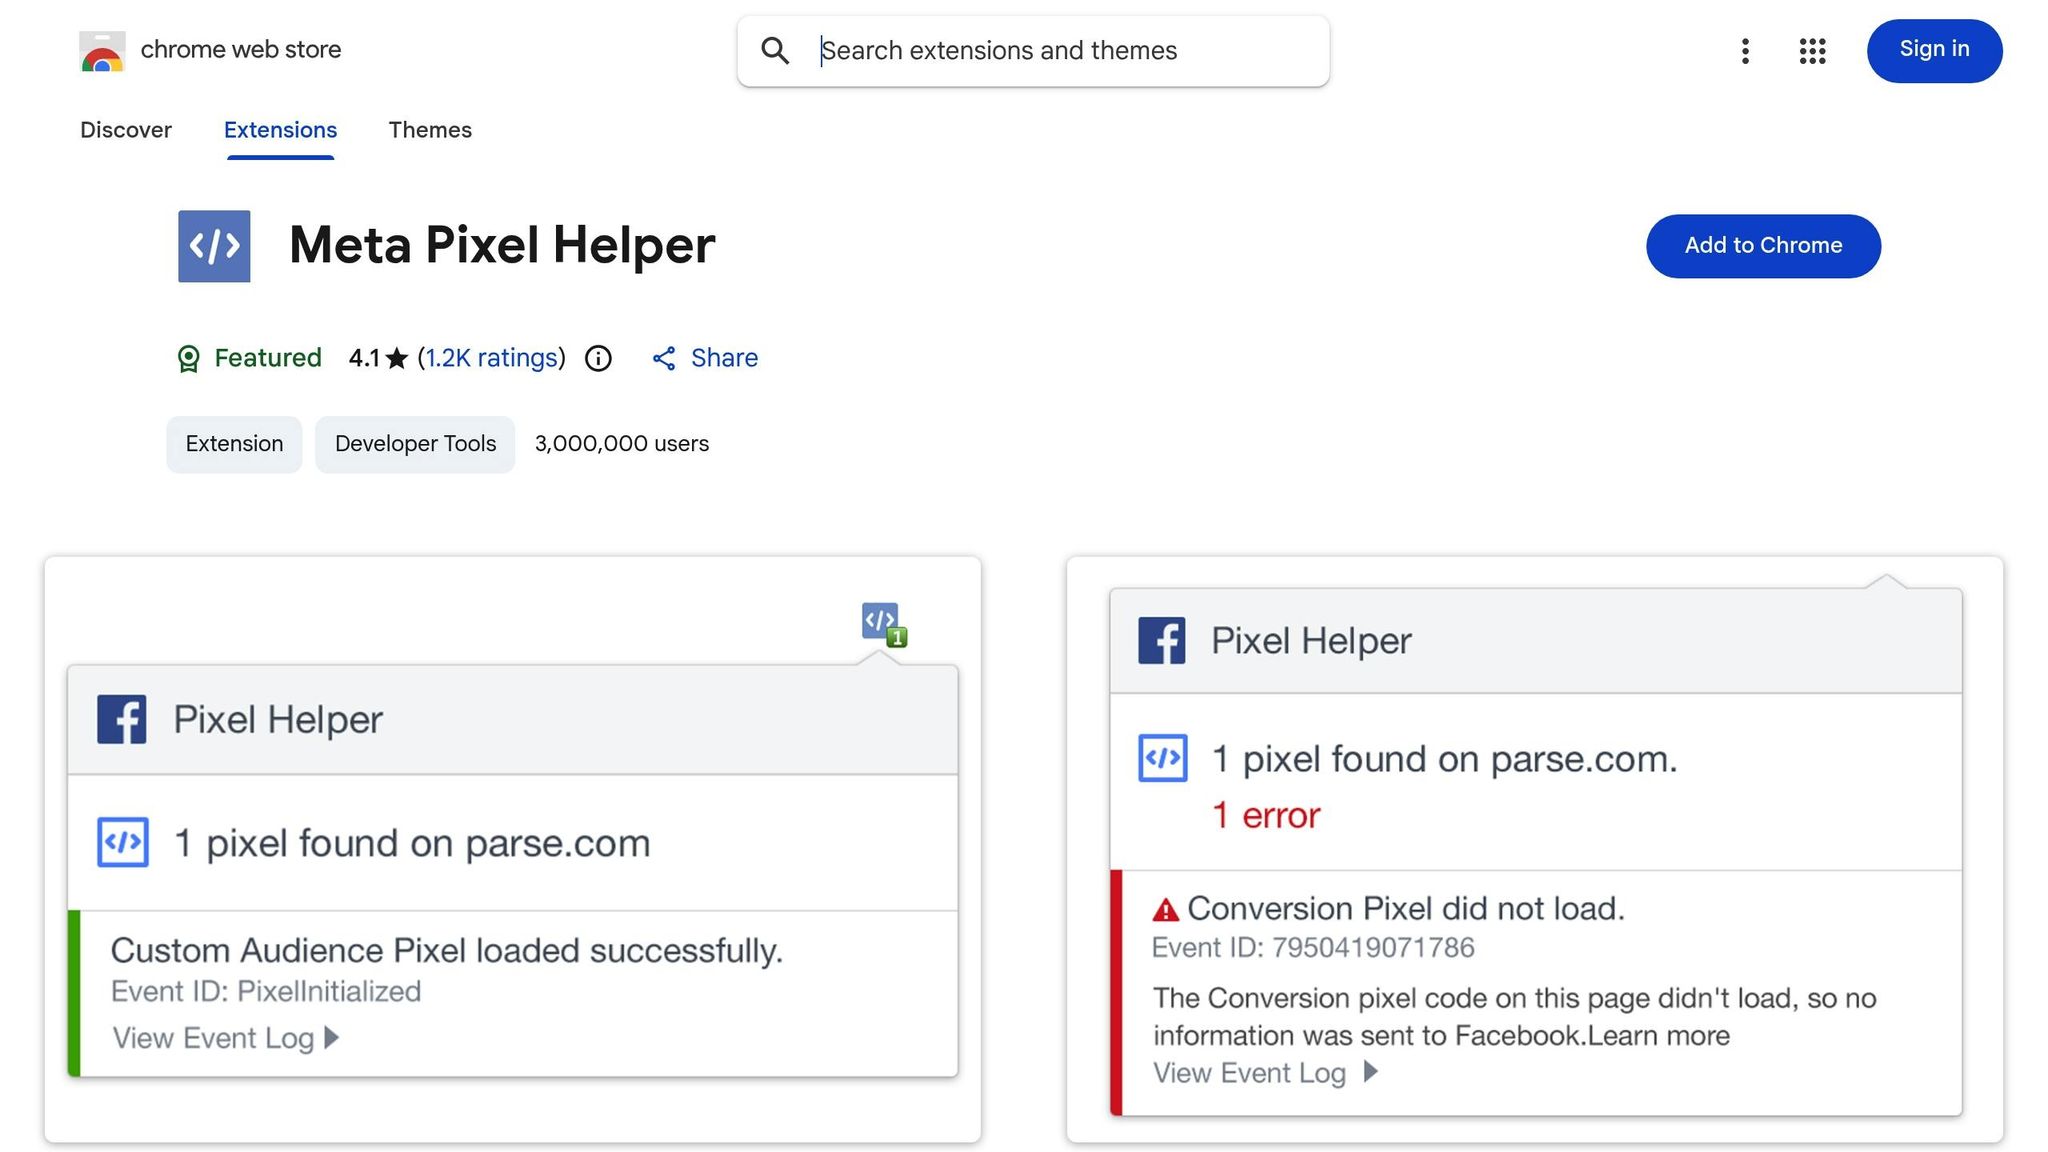
Install the Meta Pixel Helper Chrome extension from the Chrome Web Store, then reload your site. When you click the extension icon (a blue flame indicates an active Pixel), it will display which Pixels are detected. Confirm that the correct Pixel ID is listed and that a PageView event fires immediately. Perform actions like adding a product to the cart or submitting a lead form, then check the extension again to ensure the corresponding events are marked with a green "Sent" status.
Review the event parameters shown in the dropdown. For purchase events, confirm fields like content_ids, value, and currency are present. For lead events, check for parameters like content_name and status. Red errors such as "No Pixel Found" or "Event not sent" indicate setup issues, while warnings about duplicate events suggest multiple tags are firing for the same action. Cross-check these issues with your GTM Preview session to identify whether the problem lies in trigger settings, variable mapping, or tag configurations.
After resolving any errors, move on to verifying event logging in Meta Events Manager.

In Meta Events Manager, choose your Pixel and go to the Test Events tab. Enter your site URL in the test window, then repeat the actions you tested in GTM Preview and Pixel Helper. Events should appear in real time with details like event name, parameters, user agent, and IP address. A green Processed label indicates the event was successfully logged.
Check each event for custom parameters and match quality. If you’re using the Conversions API alongside the browser Pixel, ensure that both browser and server channels appear for each event. Deduplication is critical - both events should share the same event_name and event_id, and Events Manager should mark them as deduplicated rather than counting them separately. Lastly, verify that your domain is confirmed in the Settings tab. Unverified domains can cause attribution errors and event blocking, particularly for iOS traffic.
| Tool | What to Check | Key Outputs to Look For |
|---|---|---|
| GTM Preview / Tag Assistant | Tags & trigger behavior | Tags fire as expected; triggers and variables are configured properly. |
| Meta Pixel Helper (Chrome) | Browser-side pixel events & payloads | Pixel ID detected, PageView + events firing, no critical errors or duplicates. |
| Meta Events Manager | Server-side logging & deduplication | Events "Received/Processed", correct parameters, deduped browser+server events. |
Once you've thoroughly tested your setup, it's time to publish your Meta Pixel integration and ensure everything runs smoothly with ongoing monitoring.
To get started, click Submit in Google Tag Manager, name the version (e.g., "Meta Pixel + Events Setup – Dec 2025"), and include a brief description of the changes you’ve made. Make sure you’re publishing to the correct GTM environment and try to schedule the update during low-traffic hours to minimize potential disruptions. Keep the previous container version handy for a quick rollback if needed. After publishing, reload key pages on your website and use Tag Assistant to confirm that the new container version is live and the Meta tags are firing properly.
Head over to Meta Events Manager, select your Pixel, and navigate to the Overview tab. Here, you’ll find a breakdown of total events received, categorized by type - like PageView, ViewContent, AddToCart, Purchase, and more. Compare these event counts to your benchmarks and check the Diagnostics tab regularly for warnings, such as missing parameters or duplicate events. If you encounter "Duplicate Pixel" alerts, review your GTM workspace to identify overlapping tags.
For a more thorough analysis, cross-check Meta event data with your Google Analytics reports (e.g., compare Meta Purchase events with GA4 purchase transactions) and backend order records to quickly address any discrepancies. You can also create Custom Conversions by refining base events like Purchase or Lead with specific URL rules (e.g., "/thank-you") or event parameters such as value or content_category. When defining value-based conditions, use U.S. currency formatting (USD, $X,XXX.XX) to ensure alignment with your ad account’s billing and reporting standards.
The Conversions API (CAPI) offers a powerful way to improve tracking by sending event data directly from your server to Meta. This bypasses browser limitations like ad blockers and cookie restrictions, leading to better event match quality. It’s especially effective for critical events like purchases and leads, as it includes hashed customer data and accurate timestamps. Over time, this can stabilize reported metrics like ROAS and cost per result. Plus, CAPI acts as a backup channel for event tracking when browser-based methods fail, helping you maintain optimization signals as privacy regulations evolve.
To implement CAPI, you can use a server-side GTM container, an eCommerce or CRM integration, or a custom endpoint. Make sure to use consistent event names and a shared event_id across both Pixel and CAPI to avoid duplicate reporting. For deduplication, create a unique event_id variable in GTM and pass it along in both the browser tag and server-side request. In Meta Events Manager, confirm that deduplication is working correctly and check diagnostics to ensure your events are being tracked accurately.
For extra support, agencies like Dancing Chicken can help you create launch checklists that align GTM updates, Pixel/CAPI setups, and Events Manager configurations with revenue goals. They can also perform structured QA across devices and conduct periodic ad account audits to catch any issues early on.
This checklist has walked you through the critical steps for setting up and managing your Meta Pixel tracking. From confirming access to Meta Business Manager and Events Manager, installing and configuring Google Tag Manager (GTM), enabling key variables, and adding the Meta Pixel base tag, to setting up events, testing, publishing, and monitoring - it’s all about creating a solid tracking system for your Meta Ads campaigns.
Testing is a must. Use tools like GTM Preview, Meta Pixel Helper, and Events Manager to ensure everything is firing as expected. Double-check that tags and triggers are functioning properly, events are validated in your browser, and they appear as "Processed" in Events Manager without any critical warnings. Skipping these steps can lead to under-reported conversions, wasted ad spend, and poor optimization signals.
Once your setup is live, keep an eye on your events through Events Manager. Revisit and test key actions - like Purchase, Lead, or CompleteRegistration - whenever you update your site, launch new funnels, or tweak your offers. If you run into issues like missing events, double-firing, incorrect parameters, or mismatched conversion data between Meta and your analytics tools, this checklist can help you pinpoint where the problem lies, whether it’s in your base code, triggers, variables, or Events Manager settings.
For more intricate setups - like multi-step funnels, tracking across multiple domains, advanced event schemas with custom parameters, or integrating the Conversions API with browser events - consider seeking expert support. Specialists, such as Dancing Chicken, can audit your current setup, design event strategies tailored to U.S. revenue goals (focusing on high-value purchases in USD), and configure advanced tracking. They can also provide creative and campaign strategies to maximize the value of accurate pixel data, improving your bidding and return on ad spend (ROAS).
To ensure long-term success, maintain your Meta Pixel tracking regularly. Keep your GTM workspace organized and well-documented, version and test every update, and review your event data quality often. Adjust your event strategy as your campaigns and offers evolve. With this checklist as your guide, you’ll have the tools to support data-driven decisions and sustained success in your Meta advertising efforts.
To integrate Meta Pixel with Google Tag Manager, follow these steps:
This process ensures a seamless setup. For advanced techniques or personalized advice, reaching out to Meta Ads specialists might be worth considering.
To ensure your Meta Pixel is tracking events properly, begin with the Meta Pixel Helper Chrome extension. This tool lets you quickly verify whether events are firing as they should. Then, head over to the Meta Events Manager to review real-time event data and check if it matches the actions happening on your website. Make it a habit to test user interactions - like form submissions or button clicks - regularly. This way, you can confirm that all critical events are being captured, keeping your tracking accurate and dependable.
Using Meta's Conversions API together with the browser Pixel allows for better data tracking by collecting events straight from your server. This method helps address challenges like browser restrictions and ad blockers that can disrupt the Pixel's functionality.
By leveraging both tools, you can enhance the accuracy of your tracking, fine-tune ad campaigns with greater precision, and improve your return on investment. This combination ensures you’re working with the most complete and reliable insights to make informed, data-based decisions.
When it comes to Meta ads, many brands don’t realize just how profitable the platform can actually be. Or even worse, an agency overpromised and underdelivered... leaving them frustrated with a fortune spent on ineffective campaigns.
Our clients see amazing results from Meta ads. That’s because we cover every angle—from targeted reach to dynamic creative testing to retargeting and more. With our full-funnel strategy and deep platform expertise, we make sure your Meta ads drive maximum profitability, every step of the way.
%20(1).png)
.svg)