Digital Marketing
Step-by-Step Guide to Meta Pixel Event Setup
Install, test, and optimize Meta Pixel events—add standard and custom events, pass parameters, and use the Conversions API for accurate, reliable conversion tracking.

Want better ad targeting and campaign results? Setting up Meta Pixel events is your first step.
Meta Pixel is a small JavaScript code that tracks website visitor actions, helping you optimize ads and measure ROI. By collecting data on user behavior - like purchases, form submissions, and page views - it enables smarter ad delivery and audience targeting.
Here’s what you’ll learn:
The difference between standard and custom events
How to install Meta Pixel and test its setup
Using tools like the Event Setup Tool and Meta Pixel Helper
Advanced tips like adding parameters and using the Conversions API
Whether you're using Shopify, WordPress, or a custom website, this guide will show you how to implement and troubleshoot your Meta Pixel setup for maximum ad performance.
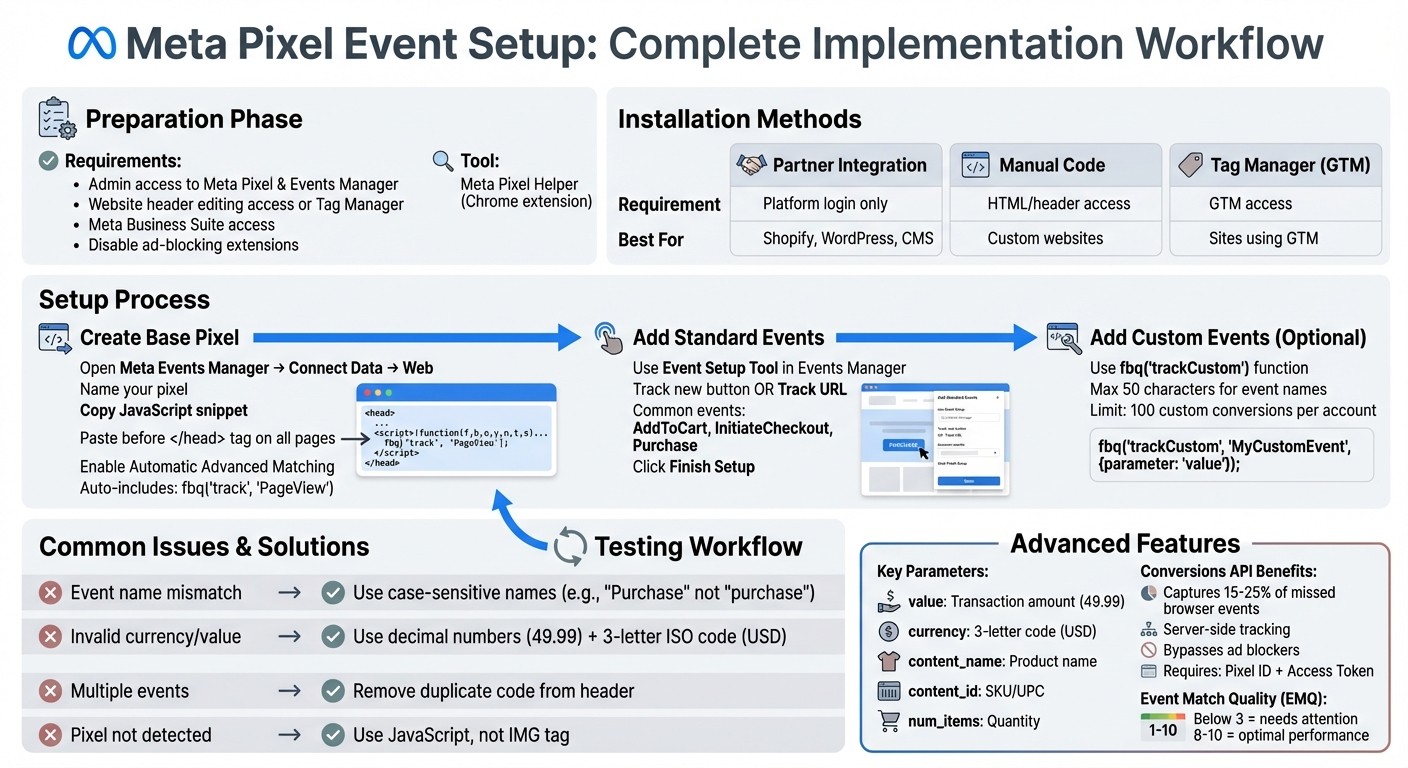
Meta Pixel Event Setup: Complete Implementation Workflow
Preparing for Meta Pixel Event Setup

Getting the Right Tools and Permissions
Before diving into Meta Pixel setup, make sure you have the necessary permissions and tools. You'll need admin access to the Meta Pixel and the Meta Events Manager [4][1]. On the website side, either you or your developer should have access to edit the <head> section of your site or use a tag manager like Google Tag Manager [1][7]. If your site enforces a Content Security Policy (CSP), ensure it allows scripts from https://connect.facebook.net [7]. Additionally, access to Meta Business Suite is crucial for managing ad accounts and verifying your domain - especially for tracking users on iOS 14.5 or later [6].
Don't forget to disable any ad-blocking browser extensions before using the Event Setup Tool. These extensions can interfere with the tool's ability to launch or track events properly [4].
Once everything is set, verify your installation using the Meta Pixel Helper.
Testing with Meta Pixel Helper
The Meta Pixel Helper is a free Chrome extension designed to help you confirm that your pixel is installed correctly. After downloading it from the Chrome Web Store, the extension will appear in your browser's toolbar. A small badge on the icon will display the number of pixel events detected on any given page. Note that you must be logged into Facebook to use this tool [5].
"The Pixel Helper is a Chrome Browser extension that runs in the background to automatically reviews websites for Meta Pixel code." - Meta [5]
To test your setup, visit your website and click the Pixel Helper icon. A green checkmark next to an event means it’s working as intended. If you see "No pixels found", the base code might be missing or incorrectly placed - it should always be between the opening and closing <head> tags [2]. Keep in mind, however, that this tool only tracks browser-side events. It won’t detect server-side events sent through the Conversions API [8].
Website Platform Requirements
The method for installing the Meta Pixel depends on your website platform. Many platforms, like WordPress and Shopify, offer built-in integrations that simplify the process without requiring manual coding [1]. To check if your platform supports an automated integration, enter your website URL in the Events Manager before attempting manual installation [1].
For custom-built websites, you’ll need direct access to edit the <head> section on every page [1][2]. If your site has separate desktop and mobile versions, ensure the pixel is installed on both to maintain consistent tracking [2]. If you're already using Google Tag Manager, you can deploy the pixel through it, avoiding the need to modify your site’s core code [2].
Setup Method | Technical Requirement | Best For |
|---|---|---|
Partner Integration | Platform login only | Shopify, WordPress, and other CMS platforms [1] |
Manual Code | HTML/header access | Custom-built websites or platforms without native Meta apps [1][2] |
Tag Manager (GTM) | GTM access | Sites already using Google Tag Manager [2] |
Step-by-Step Guide to Setting Up Meta Pixel Events
Creating and Installing the Base Pixel Code
To get started, open Meta Events Manager and click on "Connect data." Choose "Web" and then click "Connect." Give your pixel a clear, descriptive name that reflects your brand or website. Once the pixel is created, select "Install code manually", copy the JavaScript snippet provided, and paste it directly above the closing </head> tag on every page of your site. This placement is crucial - it ensures the Pixel loads promptly and avoids interference from other scripts.
"Placing the code within your <head> tags reduces the chances of browsers or third-party code blocking the Pixel's execution." - Meta for Developers
The base code automatically includes the fbq('track', 'PageView') function, which triggers a PageView event whenever a page loads. During the setup process, enable Automatic advanced matching to help Meta link website visitors to Facebook accounts using hashed customer data. Once the base code is installed, use the Test events tab to verify that everything is working. After confirming, you can move on to adding more specific event tracking.
Setting Up Standard Events with the Event Setup Tool
With your base pixel in place, you can fine-tune your tracking by adding standard events. In Events Manager, navigate to Datasets, select your pixel, and go to the Settings tab. From there, open the Event setup tool. Enter your website URL and click "Open website" to launch an interactive overlay on your live site.
The tool will suggest events based on your site's layout, or you can manually add events. For manual setup, choose Track new button for click-based actions (e.g., a "Buy Now" button) or Track a URL for events triggered by page loads (e.g., a "Thank You" page). Common standard events include AddToCart, InitiateCheckout, and Purchase. For Purchase events, you can even highlight price elements to track transaction values and currency.
Keep in mind that when you assign an event to a button, Meta applies that event to all buttons with the same or similar text site-wide. Once you've mapped out the events you want to track, click Finish setup and use the Test events tab to ensure everything is functioning as expected.
Adding Custom Events for Specific User Actions
If you want to go beyond standard events, custom events allow you to track unique user actions, like watching a video for a specific amount of time or clicking on a promotional banner. Unlike standard events, custom events require manual implementation, as the Event Setup Tool doesn’t support them.
To create a custom event, use the fbq('trackCustom') function. For example, to track users sharing a discount, you might add this code:
fbq('trackCustom', 'ShareDiscount', {promotion: 'share_discount_10%'})
Custom event names should be concise - no more than 50 characters. You can also include a JSON object as an optional third parameter to pass additional details, such as promotion codes or product categories.
Alternatively, you can set up Custom Conversions in Events Manager. These are based on URL rules, such as tracking visitors who reach a page containing "/thank-you." Note that each ad account is limited to 100 custom conversions. Also, be cautious about creating conversions that could involve sensitive information (e.g., health conditions or financial data), as Meta may flag these for violating its policies.
Always test your custom events in Events Manager using the Pixel Helper tool. This ensures they fire correctly and comply with Meta's Business Tools Terms.
Testing and Troubleshooting Your Event Setup
Testing Events with Pixel Helper
The Meta Pixel Helper is a browser extension that helps you detect and review your site's Meta Pixel code. When you visit a page with an active pixel, the extension displays a numerical badge indicating the number of events detected. Clicking the icon provides details about each event, with a green checkmark confirming proper functionality [5][8].
To ensure your setup is working as intended, simulate a typical customer journey. Start on the homepage to confirm the PageView event, navigate to a product page to check the ViewContent event, add an item to the cart to verify AddToCart, and complete a test purchase to confirm the Purchase event [8]. Make sure each event passes the required parameters, such as value, currency, and content IDs - missing parameters can affect how well your ads perform [8]. If the Pixel Helper shows "No Pixels Found", double-check that the base code is correctly placed before the </head> tag [8]. Also, remember to disable any ad blockers during testing, as they can interfere with the Pixel's functionality even when the code is correctly installed [5][8].
Once you've verified events using the Pixel Helper, move on to Events Manager for a more detailed analysis.
Monitoring Events in Events Manager
After testing with Pixel Helper, use Events Manager to track event activity in real-time. In Events Manager, the Test Events tool allows you to see if events are being registered as they happen. Typically, events should appear within a minute of triggering them [11]. If events don’t show up, revisit your setup and ensure ad blockers are disabled.
The Event Overview tab in Events Manager provides a breakdown of event data. Events triggered by the Meta Pixel (browser-based) appear in blue, while those from the Conversions API (server-based) are shown in green [12][13]. Check the Diagnostics tab regularly for errors or warnings, such as missing parameters, invalid currency codes, or duplicate events [9]. Keep in mind that it can take up to 20 minutes for parameters to attach to events and show up in the reporting interface, so allow some time before jumping into troubleshooting [10].
If problems persist, use the troubleshooting tips below to resolve common issues.
Common Troubleshooting Tips
Most event tracking problems are caused by a few recurring issues. For instance, parameter formatting errors are a frequent culprit. The value field must be a decimal number (e.g., 49.99) without letters, special characters, or commas, and the currency field must use a three-letter ISO code like USD or GBP [9]. Another common issue is event name mismatches - standard event names are case-sensitive, so using "Purchase" instead of "purchase" is crucial [9].
Duplicate events are another headache. They typically occur when event code is placed in the website header alongside the base code. To avoid this, keep only the base code (with the PageView event) in the header, and move specific event codes like "Purchase" or "CompleteRegistration" to their respective confirmation or action pages [9][10].
Common Error/Warning | Potential Cause | Troubleshooting Step |
|---|---|---|
Event name mismatch | Event name doesn’t match standard formatting (e.g., lowercase "purchase") [9] | Update code to match case-sensitive standard event names [9] |
Invalid currency/value | Missing, empty, or incorrectly formatted value or ISO currency code [9] | Use decimal numbers for value and three-letter codes like USD [9] |
Multiple events on an action | Pixel sends multiple events for one click or page load [9] | Remove duplicate event code from the header to prevent multiple triggers [9] |
Pixel Not Detected | Pixel is in an iframe or using an IMG tag instead of JavaScript [10] | Switch to JavaScript setup and place code directly in the page HTML [10] |
Advanced Event Tracking Techniques
Using Parameters for Better Data Collection
Parameters take event tracking to the next level by adding context to basic events. While standard events capture actions, parameters provide rich details like product names, prices, and quantities. As Jon Loomer puts it:
"It's the Facebook event parameters that provide the power of granular reporting and targeting" [14].
For e-commerce, some key parameters to use include:
value: The total transaction amount (e.g., 49.99).currency: A three-letter code like USD.content_name: The name of the product.content_id: Your SKU or UPC.
These parameters open up opportunities for precise Website Custom Audiences. For example, you could target users who spent over $100 or purchased from a specific product category [14]. They also allow for custom conversions, making it possible to track ROI at the product level directly within Ads Manager [14].
If you’re looking for a simple setup, the Event Setup Tool in Events Manager is a great option. It lets you highlight prices or product IDs directly on your website. Even if product IDs aren’t visible in the text, the tool can extract them from URLs automatically [4]. For more advanced tracking - like monitoring scroll depth or video engagement - you’ll need to manually implement custom parameters [14]. To avoid double-counting when using both the Pixel and the Conversions API, always include a unique event_id, such as an order number [15].
Once your parameter tracking is in place, the next step is to ensure data accuracy with server-side tracking through the Conversions API.
Setting Up the Conversions API
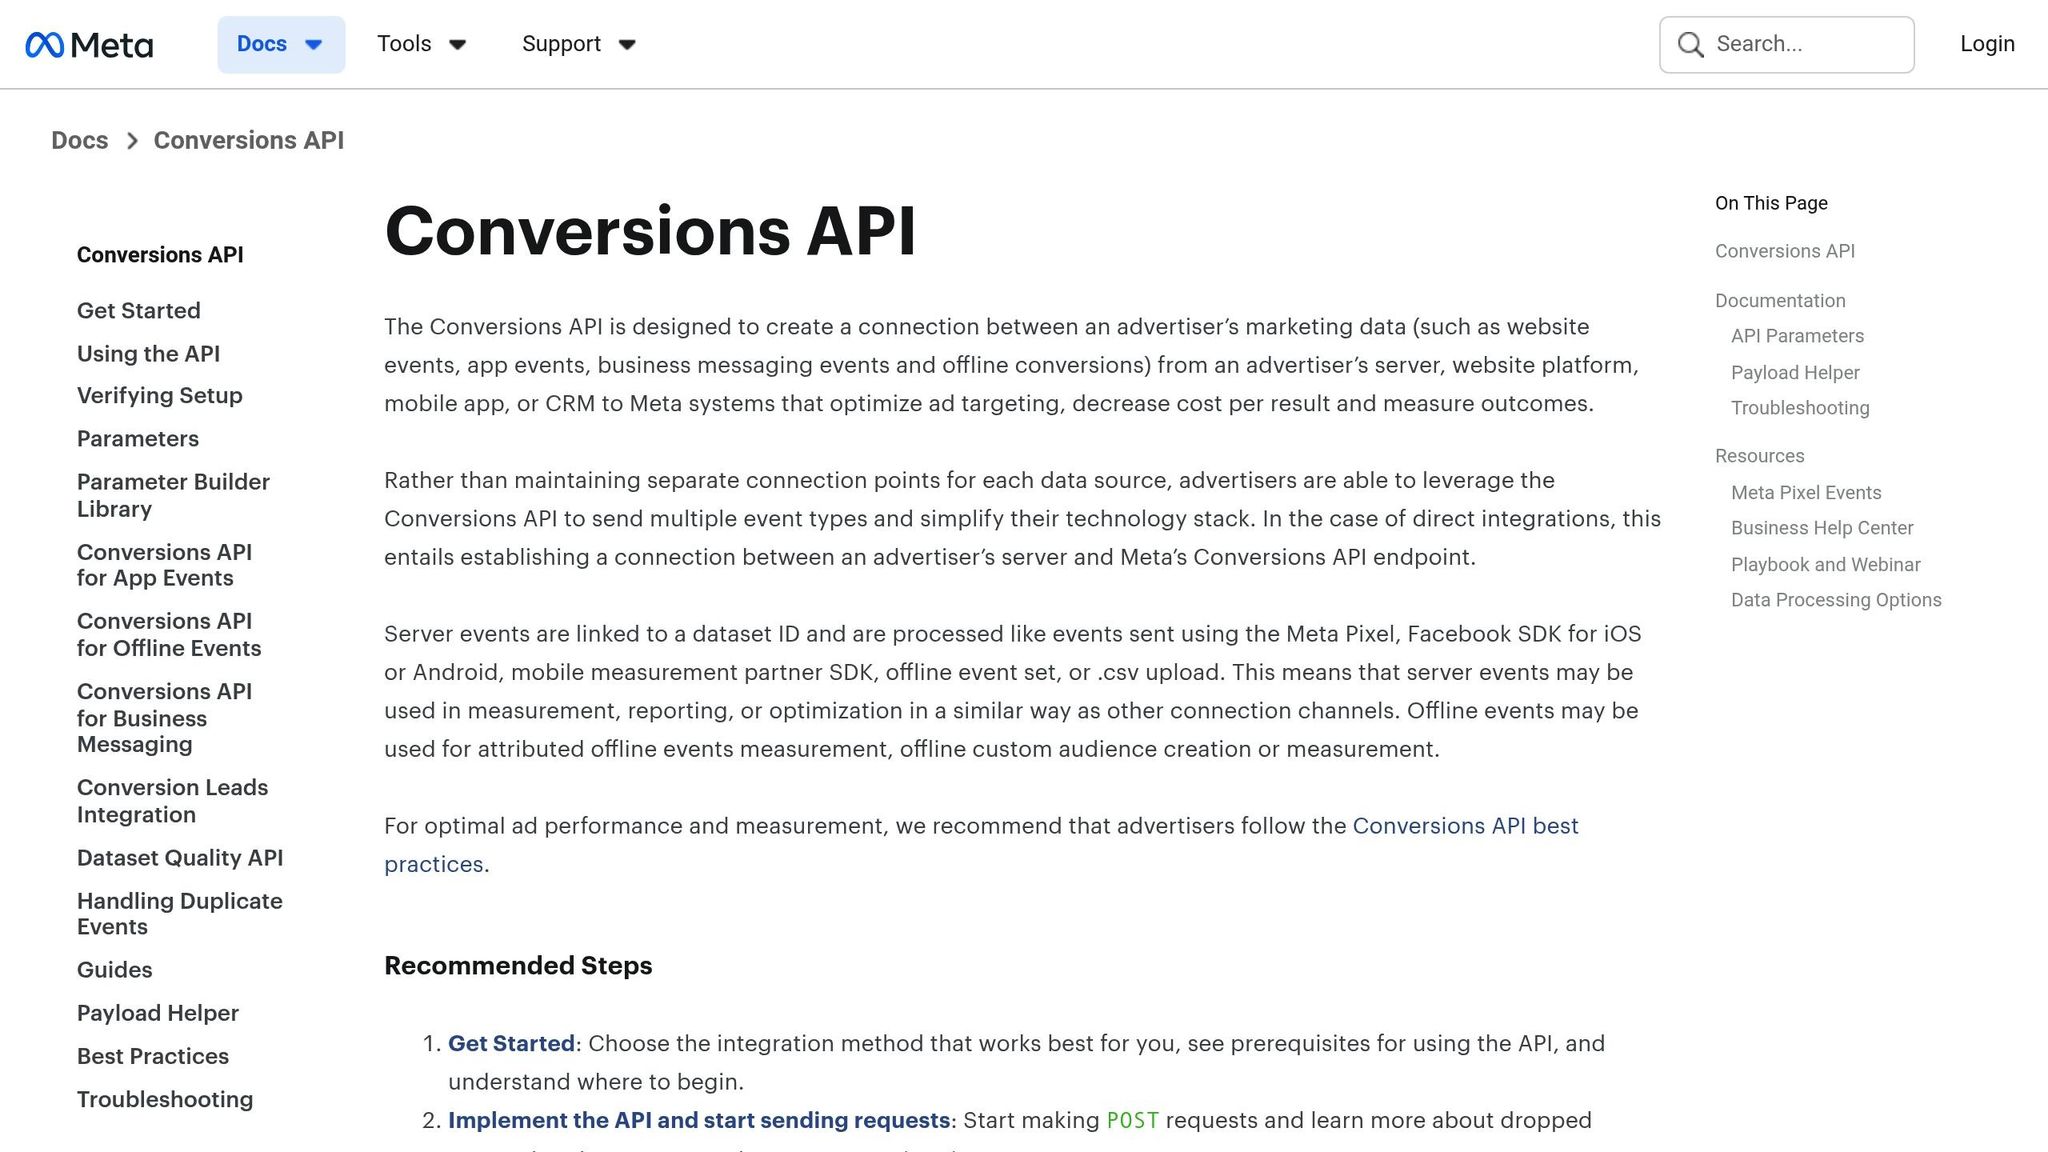
The Conversions API (CAPI) is a game-changer for data tracking, adding server-side capabilities to your Meta Pixel setup. This approach captures events that browser-based tracking might miss due to ad blockers or privacy restrictions. In fact, browser pixels can miss 15-25% of events [22], making CAPI essential for complete data collection. Meta recommends sending the same events through both the browser (Pixel) and server (CAPI) for redundancy [18][20].
Here’s what you’ll need to get started: a Meta Pixel ID, a Business Manager account, and a System User Access Token [16][20]. You can generate the access token in Events Manager under the "Settings" tab, which will automatically set up the necessary permissions [16]. Integration options include:
Direct integration: Sending events manually via the Graph API.
Conversions API Gateway: A self-hosted AWS solution that takes about 30-40 minutes to set up.
Partner integrations: Platforms like Shopify or Google Tag Manager make this process simpler [19][20].
Each server event must include specific data points like event_name, event_time (Unix timestamp), action_source, user_data, client_user_agent, and event_source_url [17][21]. Customer information, such as email or phone, must be hashed using SHA256 before being sent [17]. Events should be transmitted in real-time or within an hour for optimal performance - delays beyond 24 hours can impact optimization [20][15]. Testing is crucial to ensure browser and server events are properly deduplicated [20].
By combining server-side tracking with detailed parameter use, you’re setting the stage for more reliable and actionable data.
Working with Dancing Chicken for Advanced Solutions
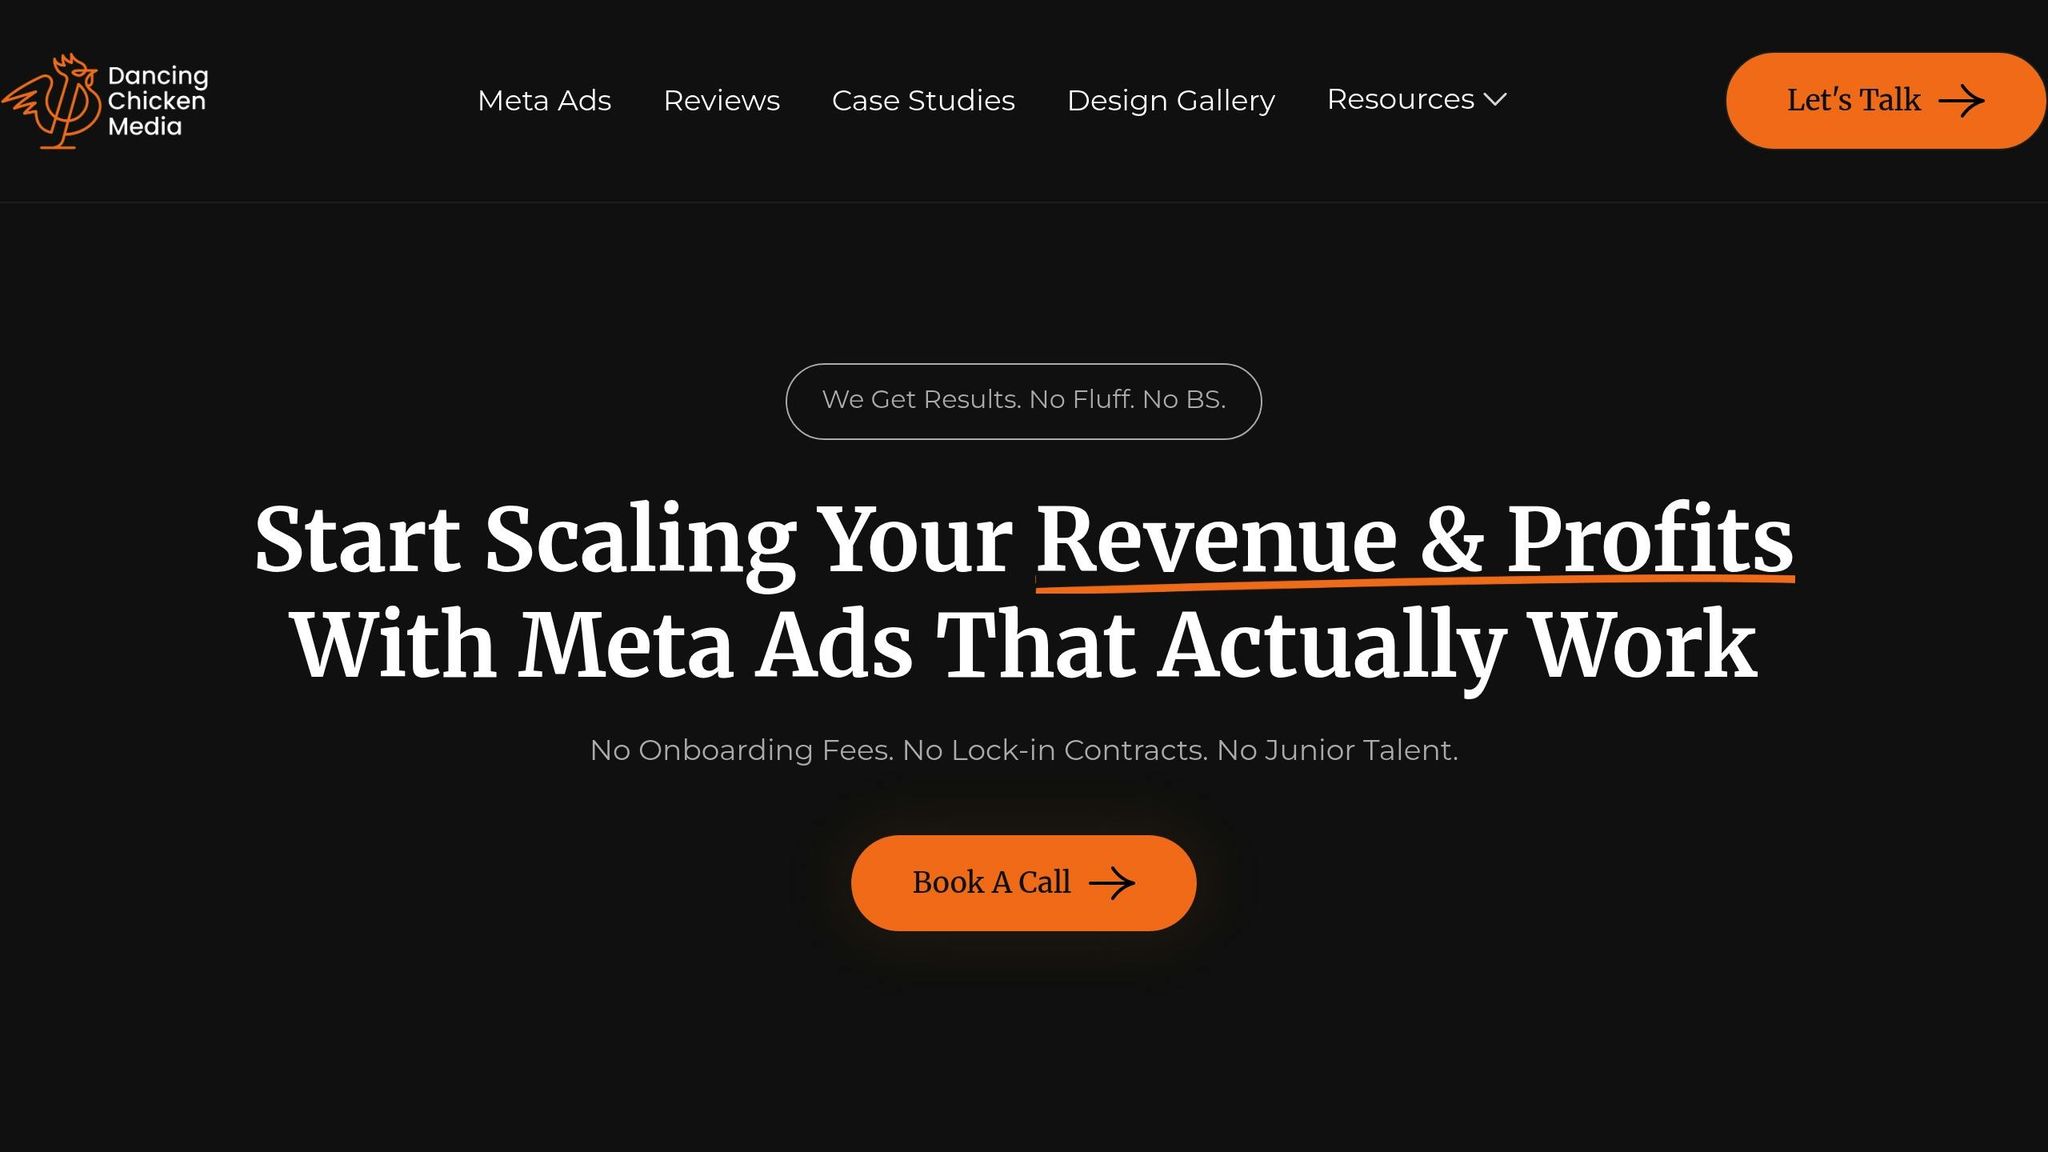
For businesses requiring more advanced tracking, Dancing Chicken offers tailored solutions that go beyond standard setups. Their Meta Ads specialists can implement custom triggers like scroll depth (e.g., 75%) or time on page (e.g., 120 seconds) to identify high-intent users [7][22]. These additional signals help capture valuable behavioral data that standard events might overlook.
Another critical focus is Event Match Quality (EMQ). EMQ scores range from 1 to 10, and scores below 3 indicate a need for immediate attention, such as implementing CAPI and enriching data [22]. Experts improve EMQ by passing hashed customer data - like email, phone, and external_id - to better match website visitors with Meta users. This directly enhances ad targeting and attribution [22][23].
Dancing Chicken offers two plans for businesses with varying needs:
Enterprise Plan ($4,000/month): Includes AI-powered lead qualification and enterprise-level attribution for businesses with high ad spends.
Growth Plan ($1,500/month): Focuses on advanced ROAS optimization and real-time analytics for mid-sized budgets.
Their expertise also ensures proper event prioritization through Aggregated Event Measurement (AEM), which ranks your top eight events per domain for accurate tracking under iOS 14.5+ [23]. Regular audits using tools like Meta Pixel Helper and Test Events help maintain data quality, ensuring campaigns remain effective [22][23].
Conclusion
Setting up Meta Pixel events lays the groundwork for smarter, more efficient advertising. By tracking the right actions with well-defined parameters, you provide Meta's algorithm with the data it needs to identify your most valuable customers and optimize for specific outcomes, such as purchases or leads.
Accurate tracking is key to better ad performance. It sharpens audience targeting, enables dynamic ad features, and delivers clear ROI measurement [3][2]. Including parameters like value and currency allows for value-based optimization, making it possible to track actual revenue directly in Ads Manager [4][22].
However, browser-based pixels can miss 15–25% of events due to factors like ad blockers and privacy settings [22]. To address this gap, pairing Meta Pixel with the Conversions API ensures you capture data that might otherwise be lost. This hybrid approach gives you a more complete view of your campaign's performance.
Once your tracking setup is in place, thorough testing becomes essential. Use tools like the Meta Pixel Helper Chrome extension and the Test Events feature in Events Manager to confirm that events are firing correctly [2][4]. Regularly check your Event Match Quality (EMQ) scores - higher scores (8–10) lead to better ad optimization and reduced costs [22]. Also, ensure you have enough conversion volume to support effective optimization.
Whether you're new to Meta Pixel or exploring advanced techniques like scroll depth tracking or improving EMQ, the time and effort invested in a solid event setup can significantly impact your advertising outcomes. If you need expert help with advanced tracking, Dancing Chicken's specialists can provide tailored solutions to meet enterprise-level data quality standards.
FAQs
Which Meta Pixel events should I set up first?
Start with standard events such as View Content, Add to Cart, Initiate Checkout, and Purchase. These predefined Meta events are essential for capturing key user interactions and boosting the performance of your ad campaigns. They serve as the backbone for gathering actionable data and fine-tuning your strategies.
How do I fix missing or duplicate Purchase events?
To address missing or duplicate Purchase events in Meta Pixel, start by identifying the root cause. If duplicates are the problem, implement event deduplication by ensuring the event_name remains consistent and both Pixel and Conversions API share the same event_id. Tools like Meta Pixel Helper or Events Manager can help you detect and troubleshoot these discrepancies.
For missing events, confirm that your pixel is set up correctly. Cross-check your website's purchase data with the data in Events Manager to spot inconsistencies. If issues persist, review and adjust your implementation to ensure all events are being captured accurately.
Do I need the Conversions API if my pixel is working?
If your pixel is working well, you might not need the Conversions API. That said, integrating it can improve data accuracy and allow for server-side tracking. This becomes especially helpful when dealing with ad blockers or browser limitations, ensuring your campaign tracking remains more dependable.
Related Blog Posts
Meta Pixel vs. Conversions API: Tracking Real-Time Data
Common Meta Ads Metrics Mistakes and Fixes
How to Collect Data for Meta Ads Attribution
Checklist for Meta Pixel Integration in Tag Manager